Permatex Windshield Repair Kit

Make permanent air-tight repairs on most types of damaged laminated windshield glass, including bulls eye’s and star damage up to 1.25", in just a few minutes. Keep one one of these handy to prevent windshield damage from spreading.
- Repairs Bull Eyes up to 1.25" in diameter
- Cures by natural sunlight
- Easty to follow illustrated instructions

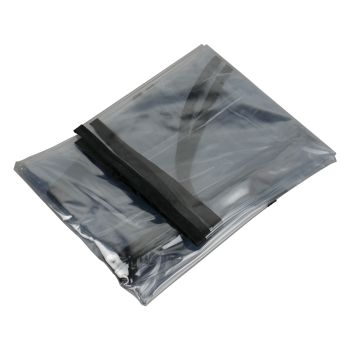


This state-of-the-art delivery system with advanced spring-lock feature, allows you to make professional-quality repairs with no mixing required and it cures by natural daylight. This complete kit provides everything needed for the repair including easy-to-follow instructions with photographs.
Perform repair in shaded area (not in direct sunlight) with the windshield temperature between 50°F and 75°F (10°C to 25°C). Do not allow the resin to come into contact with car finish or painted surfaces as this may cause damage. The Windshield Repair Kit repairs damages not exceeding 1 1/4 inch in diameter.
BEFORE BEGINNING REPAIR.
- Clean windshield around the damaged area with the alcohol towelette. Clean loose pieces of glass from the damaged area with the pushpin. Suggested: Place a cloth near the bottom of the windshield, below the damage. This will stop any resin that might flow from the repair area.
- Take the adhesive disc and peel the backing off ONE side of the adhesive disc. With tab pointing upward, line up the hole in the disc with the center of the damage. Make sure tab points upward. Press the adhesive disc onto the glass. Ensure that the whole adhesive disc is in contact with the windshield. Look at the disc from the inside of the vehicle to make sure there are no air bubbles.
- Peel off the OTHER side of the adhesive disc. Line up the pedestal with the adhesive disc making sure that the tab again points upward and matches the tab on the adhesive disc. FIRMLY press the pedestal against the disc again making sure that there are no air bubbles in the adhesive.
- Remove the cap from the resin tube. Away from painted surfaces and your face, carefully cut tip off (approximately 1/8 inches) to open resin tube. Place resin tube stem 1/4 inch into the pedestal opening and carefully squeeze tube to load resin into pedestal. Once tube is squeezed, remove resin tube from pedestal. Wipe off any residual resin from tip. Replace cap on resin tube and save any remaining resin for use in step 9.
- Make sure that the plunger is pushed all the way into syringe prior to use. Carefully and firmly twist the tip of the syringe into the pedestal. The fit between syringe and pedestal should be tight.
- Hold the syringe with one hand and gently pull plunger upward with the other hand. LOCK IN PLUNGER AT LOWEST INDENT SETTING by turning plunger indent into clip. Spring clip system will secure plunger in place. Allow entire assembly to sit as is for 10 MINUTES.
- Once step 6 is completed, temporarily remove the syringe from the pedestal. This will allow air into syringe. With plunger still locked in lowest indent setting, carefully replace syringe by twisting the tip of the syringe into the pedestal. Hold the syringe with one hand and gently push plunger down with the other hand. LOCK IN PLUNGER AT UPPER MOST INDENT SETTING by turning plunger indent into clip. Allow entire assembly to sit as is for at least 20 MINUTES.
- Once step 7 is completed, remove the syringe. Using the safety razor, slowly remove the pedestal and the adhesive disc from the glass. Wipe off any residual resin from glass.
- Remove cap from resin tube. While holding resin tube in one hand and curing strip in the other hand, carefully squeeze a bead of any remaining resin into the hole of the damaged area. Place curing strip over damaged area to hold in resin.
- Remove any air bubbles by using safety razor to lightly smooth over curing strip. Move the vehicle to sunlight area and let sit in direct sunlight for 15 minutes. Resin will cure with natural UV Sunlight (at least 1 hour is required on cloudy days). Once resin has cured, carefully remove curing strip by peeling it away from windshield.
Finishing tips: If the surface of the glass is uneven, safety razor may be used to remove any excess cured resin from windshield. Clean windshield again with alcohol towelette.
NOTE: The repair may not completely remove blemish or permanently fill the pit.
Pick Up
Unfortunately we currently do not offer customer pick ups
How much does shipping cost?
Shipping is a flat fee of $9.95, there may occasionally be an extra freight charge if items purchased are heavy, bulky or being delivered to a regional or remote location, but we will notify you via email if this occurs
How long will Shipping Take?
Metro Areas
Usually between 1-7 business days since time of order
Rural Areas
Rural areas can take anywhere between 1-10 business days depending on where you are located